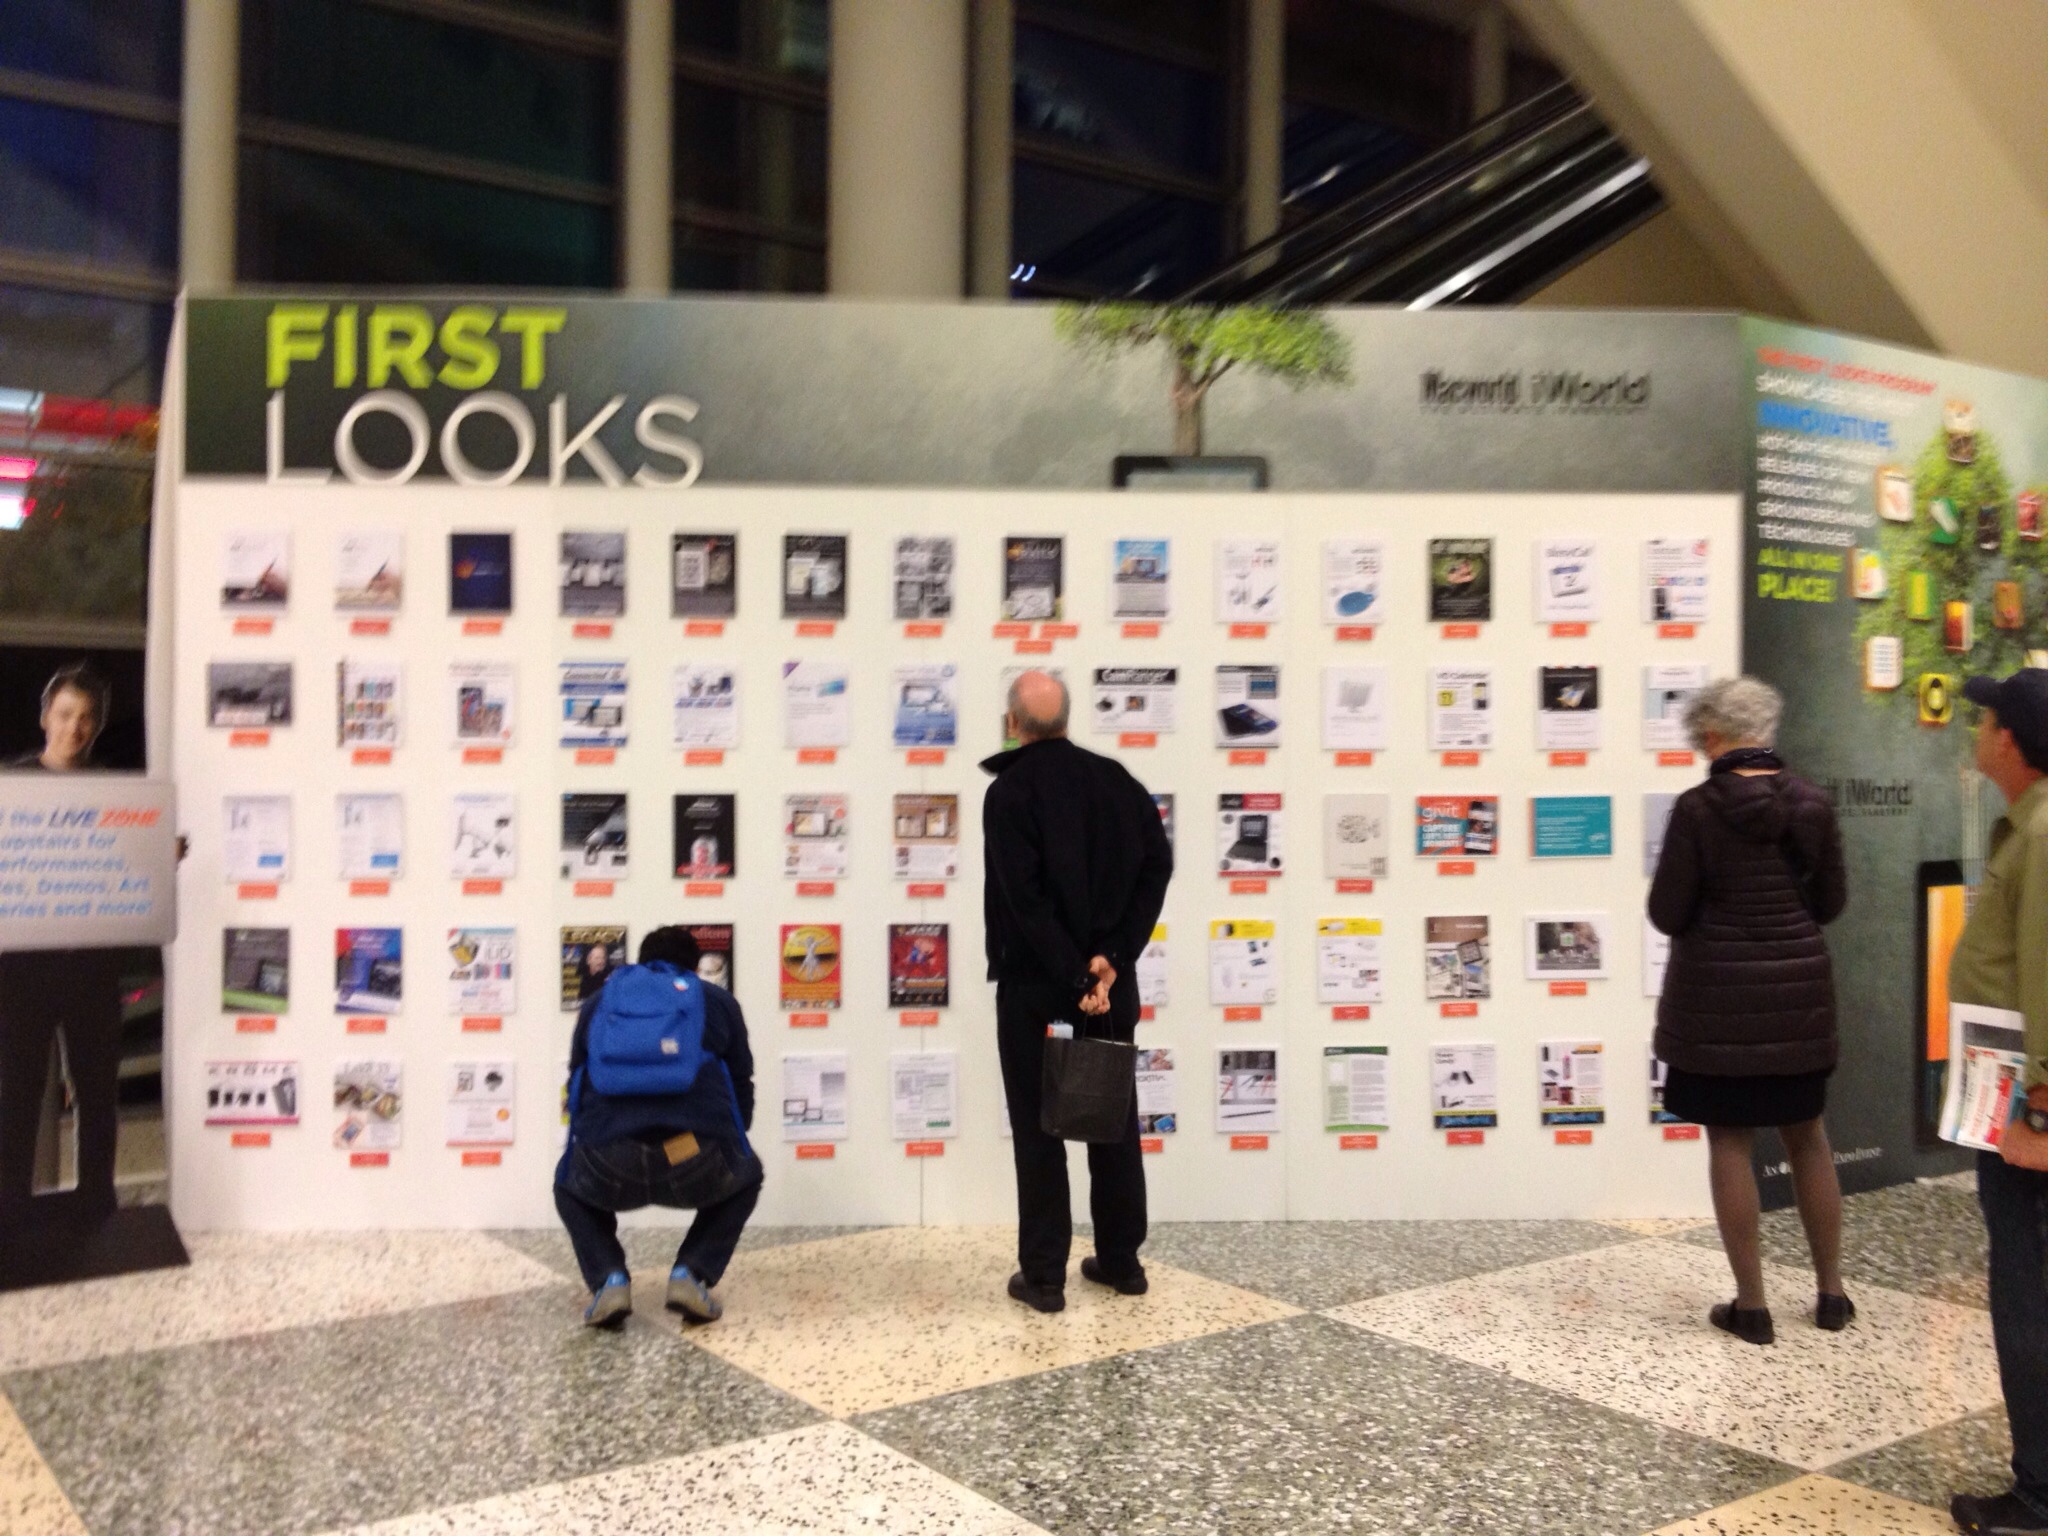
Macworld Expo – iWorld 2013 – Episode 21

image-episode-21

Download the show here
Subscribe in iTunes

Elisa and Vicki talk about Macworld/iWorld 2013. Suze´ was a bit under the weather-send good vibes her way!

Links:
Esoterism
SnuggBuds
Chef Sleeve
CrashPlan
Fujitsu ScanSnap
iDrive

Leave a review and/or rating in iTunes. We would really appreciate it! And join our Facebook group at www.Facebook.com/3geekyladies

Contact Us
3geekyladies@gmail.com
twitter.com/geekyladies
vestokes at gmail dot com
twitter.com/vestokes
suzegilbert at gmail dot com
twitter.com/suzegilbert
senseidai at gmail dot com
twitter.com/senseidai

Macworld/iWorld 2013-Interview with iDrive-Episode 20

image-episode18
Download the show here
Subscribe in iTunes

Special edition of 3 Geeky Ladies by Vicki Stokes live at Macworld 2013 – iDrive/iDrive Sync audio interview.

Links:
iDrive
iDrive Sync

Leave a review and/or rating in iTunes. We would really appreciate it! And join our Facebook group at www.Facebook.com/3geekyladies

Contact Us
3geekyladies@gmail.com
twitter.com/geekyladies
vestokes at gmail dot com
twitter.com/vestokes
suzegilbert at gmail dot com
twitter.com/suzegilbert
senseidai at gmail dot com
twitter.com/senseidai

Macworld/iWorld 2013 Videos

For years I was envious of everyone who was able to attend Macworld. It’s The Promised Land, the Mecca for Apple and Mac geeks and enthusiasts. I never thought I’d ever be an attendee.

But I was there for Macworld 2013.

What an experience. I highly recommend everyone go at least once if at all humanly possible. If you do, you may discover vendors like the ones below.

Esoterism

When I saw the products in the Esoterism booth I knew I had to do a video interview. The cases are stylish and well-crafted. Global Sales Director Erica Hao was kind enough to give me an iPhone 4S case to review; look for that in the near future.

Continue reading

Macworld/iWorld 2013 Recap – Part 1 – Episode 18

image-episode18
Download the show here
Subscribe in iTunes

Elisa and Vicki give listeners a Macworld/iWorld 2013 recap, and share some audio interviews. They apologize for the uneven audio, they’re still learning. They promise it will be better next year!

Links:
iStop Motion
HP
Rage Software EasyWeb
Givit
ScanSnap
CrashPlan
Sedio
Que
Adva
MicW
Leave a review and/or rating in iTunes. We would really appreciate it! And join our Facebook group at www.Facebook.com/3geekyladies

Contact Us
3geekyladies@gmail.com
twitter.com/geekyladies
vestokes at gmail dot com
twitter.com/vestokes
suzegilbert at gmail dot com
twitter.com/suzegilbert
senseidai at gmail dot com
twitter.com/senseidai

Tutorial—Quick Selective Adjustments in Snapseed

Import image from Camera Roll or take photo from within Snapseed. Select from the bottom menu: Selective Adjustment. Select Adjustment offers control over select areas in saturation,contrast, and brightness. Assess your image and decide what portion of the image needs adjustment. This could be a brighter or darker area such as a sky, shadows, color element, Tap the +sign to add a Control Point to the image. For the purpose of this mini tutorial, I will add a control point to a sky image.

The control point will change to the default of B for brightness change. By placing two fingers on the screen and swiping outward to zoom, a red mask will appear on image and this will be the area that will be adjusted. By pinching to decrease the mask or zooming out to increase the area of the mask, you can be specific about the image adjustment.

To adjust the brightness, slide your finger from left to right to increase the effect and right to left to decrease. The blue button will have a green ring around it to show the increase and a red ring for the decrease. The bottom of the screen has a measurement dial so you can be numerically precise if needed.

To change to brightness button to contrast and saturation, tap the screen and slide our finger up and down. A small tab menu slide will appear and then you can select the adjustment you want.

You can also slide your finger over the image to pick up the color you want adjusted. For example, if I had an image that had two boats with red smokestacks and I wanted to only pop out the red, I would slide my finger over the smokestack until I saw red in the little circle crosshair icon, zoom out to create the mask over the elements of that color in the image, then slide from left to right to increase the saturation. Be sure you have changed the icon button to the effect you want.

You can add several adjustment points to your image for greater control of your final photograph. Adding adjustment points for brightness in one area, and contrast in another area, offers a robust photo-editing experience on an iDevice. Snapseed gives the user tools to make local and global adjustments to a image it saves in high resolution. You can also use the two finger zoom method to create a mask that encompasses the entire image, to increase or decrease an effect over the entire image.

To compare the adjusted image to the original image, press the compare button located bottom left of the screen.

© 2013 Suzé Gilbert