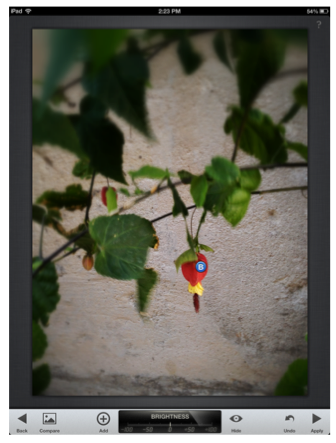
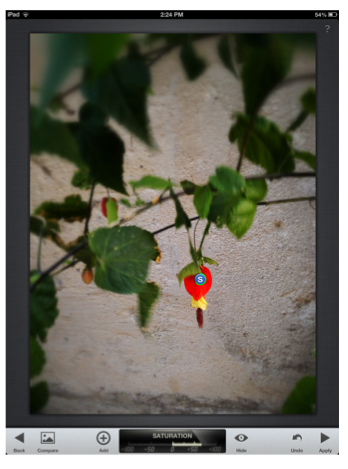
Import image from Camera Roll or take photo from within Snapseed. Select from the bottom menu: Selective Adjustment. Select Adjustment offers control over select areas in saturation,contrast, and brightness. Assess your image and decide what portion of the image needs adjustment. This could be a brighter or darker area such as a sky, shadows, color element, Tap the +sign to add a Control Point to the image. For the purpose of this mini tutorial, I will add a control point to a sky image.
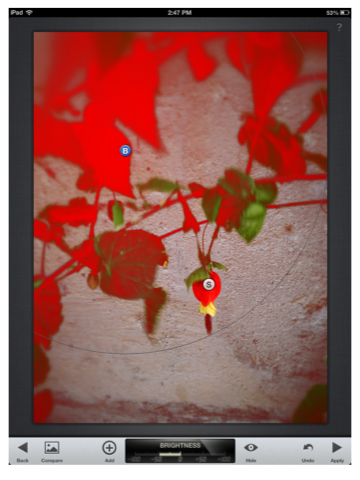
The control point will change to the default of B for brightness change. By placing two fingers on the screen and swiping outward to zoom, a red mask will appear on image and this will be the area that will be adjusted. By pinching to decrease the mask or zooming out to increase the area of the mask, you can be specific about the image adjustment.
To adjust the brightness, slide your finger from left to right to increase the effect and right to left to decrease. The blue button will have a green ring around it to show the increase and a red ring for the decrease. The bottom of the screen has a measurement dial so you can be numerically precise if needed.
To change to brightness button to contrast and saturation, tap the screen and slide our finger up and down. A small tab menu slide will appear and then you can select the adjustment you want.
You can also slide your finger over the image to pick up the color you want adjusted. For example, if I had an image that had two boats with red smokestacks and I wanted to only pop out the red, I would slide my finger over the smokestack until I saw red in the little circle crosshair icon, zoom out to create the mask over the elements of that color in the image, then slide from left to right to increase the saturation. Be sure you have changed the icon button to the effect you want.
You can add several adjustment points to your image for greater control of your final photograph. Adding adjustment points for brightness in one area, and contrast in another area, offers a robust photo-editing experience on an iDevice. Snapseed gives the user tools to make local and global adjustments to a image it saves in high resolution. You can also use the two finger zoom method to create a mask that encompasses the entire image, to increase or decrease an effect over the entire image.
To compare the adjusted image to the original image, press the compare button located bottom left of the screen.
© 2013 Suzé Gilbert